|
|
|
|||
|
|
||||
|
|
||||
| Plan: Rudolph | ||||
|
|
HOME | SITE MAP | FORUM | CONTACT |
|
||
|
ABOUT | MOTORS | MODELS | ARCHIVE | HISTORY | STORE | FAQ | LINKS
|
|
|
|
||||||||||||||
|
Rudolph: the rocket powered sailplane
by Aubrey Kochman Reprinted from Air Trails, June 1950, pp. 58f. The Air Force with its X-1 has nothing on the model builder! Here's a real rocket engine for Jato-like take-offs and flight |
|
||||||||||||||
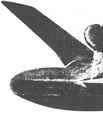
|
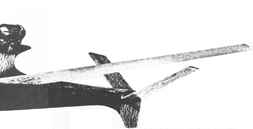
-
Air Trails, June 1950, p. 58
|
||||||||||||||
|
The first Jetex motors arrived in this country about a year and a half ago; they are now being imported and distributed by American Telasco, Ltd., who are sole representatives in the United States for the units. At the present time there are four different motors available. The smallest and latest one is the Jetex 50 which develops one-half ounce of thrust and is capable of flying models up to twenty inches in wingspan. The initial cost of the motor is the least expensive of any power plant, and that motor is extremely simple to operate. The hissing sound heard when the charge is ignited is made by the expanding gases exhausting through a tiny aperture at supersonic speed. The size of this aperture is very critical. As little as .001 inch change in its size will result in a very noticeable loss of thrust. The manufacturer supplies a piece of wire of the correct diameter, and only this wire should be used in keeping the aperture clean. |
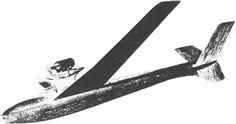
-
Air Trails, June 1950, p. 58
|
||||||||||||||
|
For those who believe it is the force of the escaping gas pushing against the atmosphere that imparts forward motion to the model, a simple and non-technical explanation will give a better understanding of what actually does provide forward push or thrust. A jet or reaction motor operates on the principle of Newton's third law of motion, which states that to every force there is an equal and opposite force. Therefore a flow of gas through a nozzle, or jet, requires a force to give it velocity. This force which is pushing the gas out through the jet creates an opposite force of equal power which pushes in the opposite direction – against the inside of the container forcing it forward. It is therefore this "hidden" force that actually propels the model forward and not the gas that is being forced out the other end. The model presented herewith is basically a hand-launched glider. This type lends itself to experimental work with the Jetex 50. Before starting construction, bear in mind that the finished model should be as light as possible. Therefore it is recommended that quarter-grain sheet balsa be used. This cut of wood is easily detected by its mottled appearance and is quite stiff as compared to ordinary straight-grained balsa. It is also much more resistant to warps. An additional saving in weight may be accomplished if 1/16" sheet is substituted for the wing stock. However, it was felt that a better airfoil could be sanded into the 3/32" sheet as shown on the plan. |
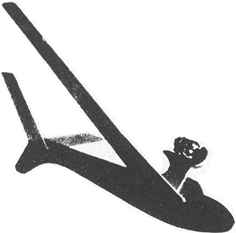
-
Air Trails, June 1950, p. 58
|
||||||||||||||
|
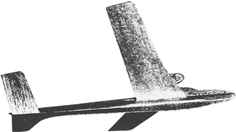
Start construction by shaping the ¼" x ½" fuselage "stick" shown on the side view (without any gray tone). Note that only the top edge of the stick is tapered. This taper starts at the trailing edge of the wing. The bottom edge of the stick is perfectly straight back to the leading edge of the stabilizer, where it is tapered 3/32" to give the stab a negative angle of incidence. Build the wings and stabilizer next and cement them to the stick, making certain that they are lined up properly. The motor mount is built up from laminations of 1/16" sheet. Note the grain direction. The only important point to keep in mind is that the mount must line up perfectly with the wing – in other words, have zero degree incidence and neither right nor left thrust. Next add the 1/16" sheet "silhouette forms" to the top and bottom of the stick and the 1/16" sheet rudder. When cementing on the rudder, do not apply any cement for the last half inch at the trailing edge. This will make it easier to warp for turn adjustments. Round off all square corners and apply a coat of either sanding sealer or glider polish. Mount the Jetex holder in its proper position, using the two wood screws supplied and then a strip of cloth as shown. The addition of the cloth is very important and should not be overlooked. Due to the extreme lightness of the finished model, all tests should be made on a calm day. Gently hand glide. In all probability a small amount of clay added to the nose will be necessary. In attempting power flights, do not heave the model into the air or launch it before the motor is developing sufficient thrust. The correct launching technique is quite simple. Ignite the fuse (wick) with either a match or the lighted end of a cigarette, wait a few seconds for a strong hissing sound and then very gently launch the model with its nose pointed slightly downward. When the model leaves your hand it will start out in a normal glide path for fifteen or twenty feet and then, as the thrust increases, it will start climbing in lazy circles with the diameter of the circles decreasing until the model is spiraling almost straight up. In loading the motor, handle both the fuel charge and the fuse as little as possible. |
-
Air Trails, June 1950, p. 58
|
||||||||||||||
Plan for Rudolph
(A larger copy of the plan is also available to
view or download).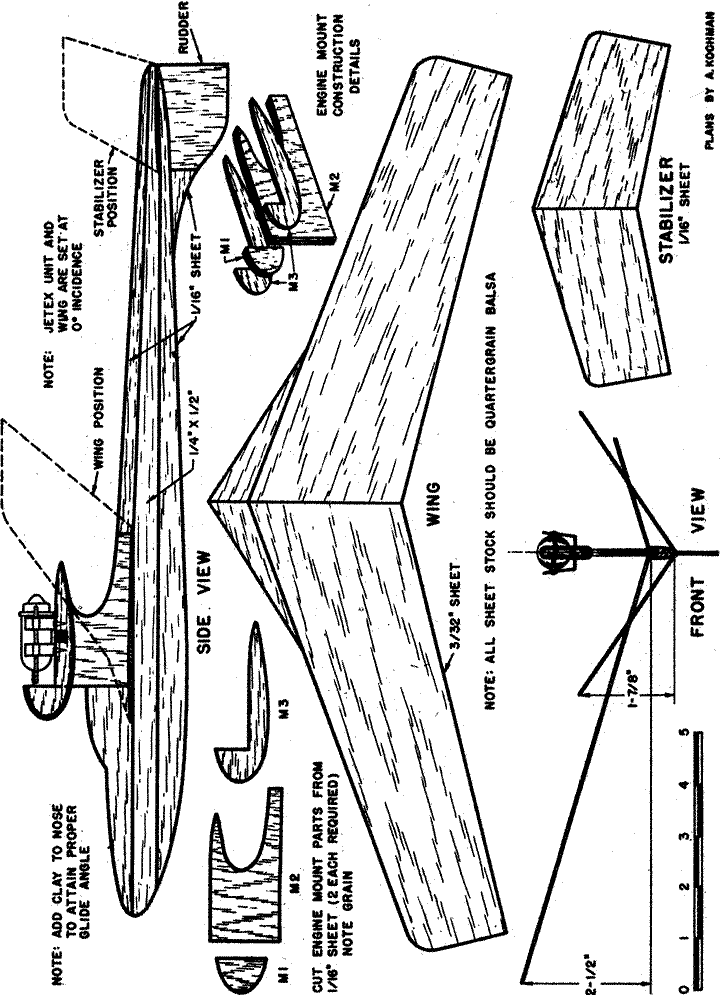 |
|||||||||||||||
|
|
|
||||||||||||||
|
|
|
|
|
|
|
|
Acknowledgements - Article and plan contributed by Bill Henderson |
|
|
|
|
ABOUT | MOTORS | MODELS | ARCHIVE | HISTORY | STORE | FAQ | LINKS |
|
|
Terms of Use
|
Queries? Corrections? Additions?
Please
contact us.
|
|