by Paul E. Del Gatto
For less than two bits worth of material you can build just about the fastest climbing model flying machine you've ever seen – and we make no exceptions – in this slick, dressed-up profile version of a Jetex powered "X-15".
Both of the first two X-15's we made were lost out of sight each on its first flight. These were no back yard flights either. Of course we don't recommend losing them. The model is easy. enough to replace but you'd be out a Paa-Loader "150" engine.
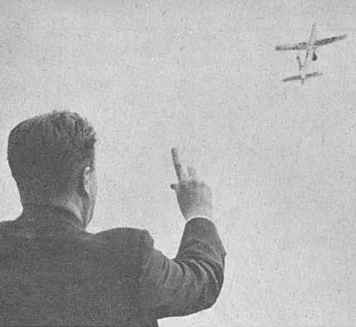
Using two pellets of fuel, the model will climb to a height of 400 to 500 feet and, though the glide is not comparable to that of a free-flight gas model, the X-15 still requires as much room as the average free-flight – something we did not foresee when we built our test job. Although the wing area is small, gliding angle and speed is such that damage upon landing is extremely unlikely. Moreover, the model is so easy to build that we suggest making two or three at a time.
Construction: Begin by selecting required wood and cutting out all the parts to the correct outline shape. Then cut the 3/16 square hardwood engine mount, and cement into the recess provided for it in the fuselage. The wing panel is cut in half, and the edges to be joined for dihedral are beveled to the correct angle. Join the panels together. as shown in the sketch, by putting one wing panel flat on the board and propping up the other the other panel to the correct dihedral at its tip. When dry, remove from board cement in place in fuselage slot. The tail surfaces also should be cemented in place at this time. Before applying a finish smooth-sand all surfaces and round off all edges.
Finishing and Flying: Apply two to three coats of dope to which an analine dye has been added. This dye can be purchased in the ten-cent store. Mix a pinch at a time with an ounce of clear dope, until you have the desired shade. Try samples on wood scraps. Smooth-sand between each coat. Our models were colored red and yellow; however, the choice of colors is optional. When completed, add all surface markings with pen and black drawing ink. Add the required decals to create a touch of realism. Screw the engine mounting clip in position as shown on the drawing. The model is now ready for flying.
The plane should be pretty well balanced as built. However, test glide it over a grassy area with the engine, but without fuel, in position on the mounting clip. If the model shows any tendency to steepen the glide or to stall, obtain the proper trim by adding clay ballast fore and aft. Do not attempt any turn adjustments until after you have made your first flight.
Don't test fly with two fuel pellets. One is quite sufficient! Before you use two pellets be certain that you have go plenty of room and two or three retrievers handy!
BILL OF MATERIALS
(1) 3/16 X 2 X 20" (hard balsa)
(1) 1/16 X 3 X 18" (medium balsa
Cement, clear dope, aniline dye, decals, Paa-Loader "150" engine and fuel, engine mounting clip, 3/16" square hardwood inset.